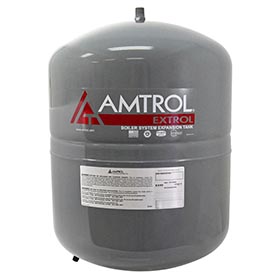
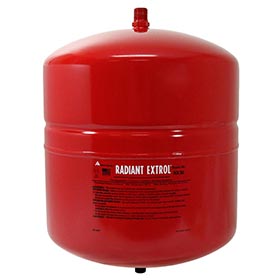
Before installing an expansion tank
- Prior to an installation of the Extrol 30 expansion tank, the tank should be inspected for any damage. If there is visual damage on the expansion tank, a replacement should be made.
- The pre-charge of the expansion tank (default is 12 PSI) should be adjusted to match the system fill pressure.
- After the air-fitting, the plastic cap needs to be replaced and tightened to prevent any air leaks.
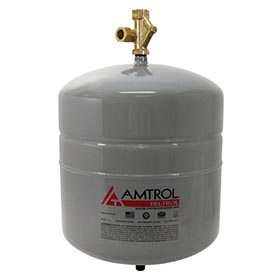
Installation of the expansion tank
- The area around the expansion tank installation has to be isolated to prevent any water leaking or the whole system should be drained as necessary.
- The expansion tank needs to be installed on the suction side of the hot-water circulator, on the bottom of the supply line.
- The boiler system is then re-pressurized and should be checked for any leaks. If leaks are found in the system, they need to be repaired to prevent any pressure drops.
- The boiler system is then restarted and the relief valve should be checked for any dripping water. If the relief valve is dripping the expansion tank could be smaller than the required size for the system or it may have been improperly charged.
- The Extrol 30 expansion tank should be working now and absorbing any expanded hot water.
Maintaining the Extrol 30 expansion tank
The whole boiler system, including the expansion tank should be checked annually by a professional plumber to make sure the system is working properly. More frequent checks should be administered as the boiler system ages.
Installation process mentioned in this article can also be applied to models: Extrol 15, Extrol 60, Extrol 90, RX-15, RX-30, RX-60.
This article is for informative purposes only. The actual installation needs to be performed by a qualified professional.