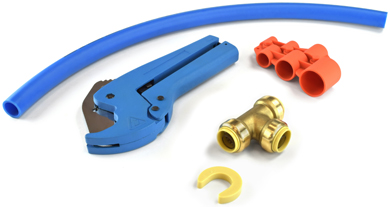
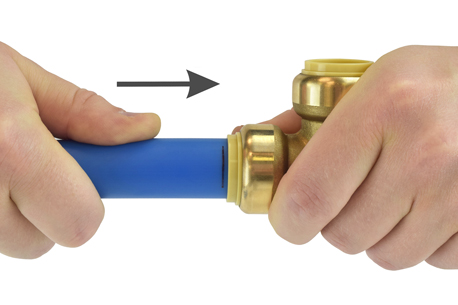
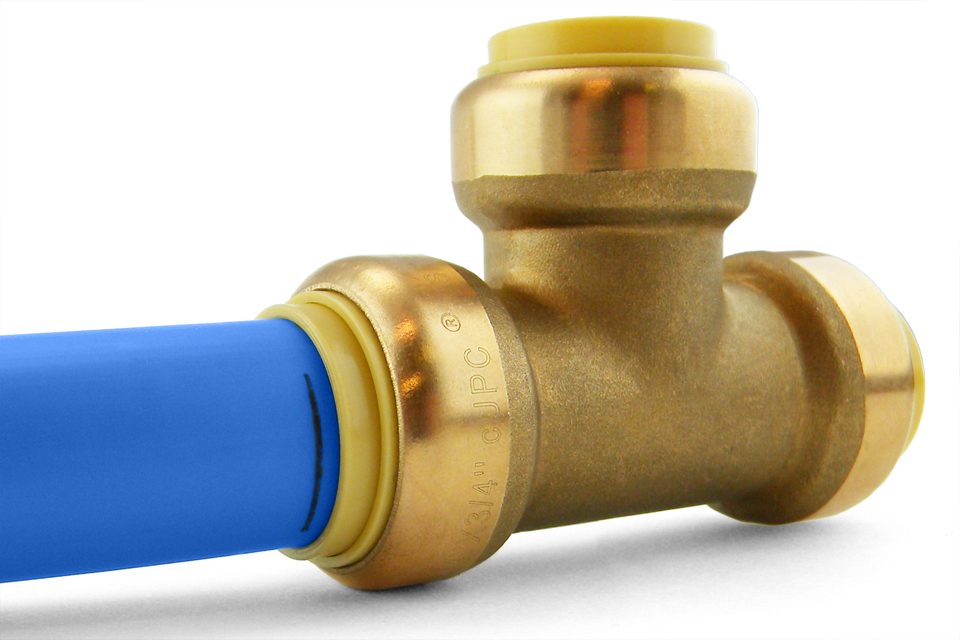
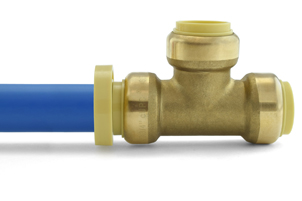
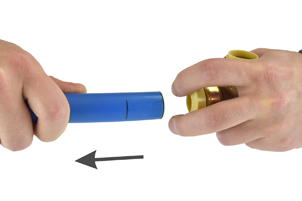
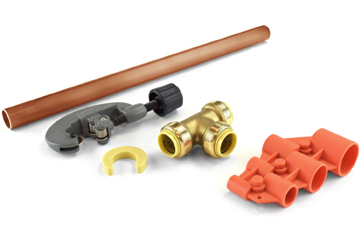
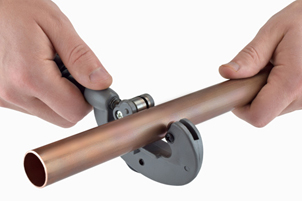
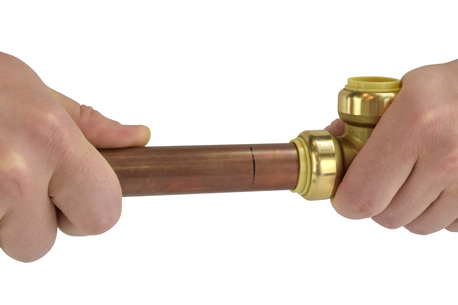
 Tools & materials needed:
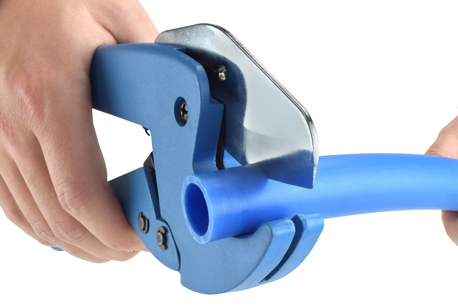
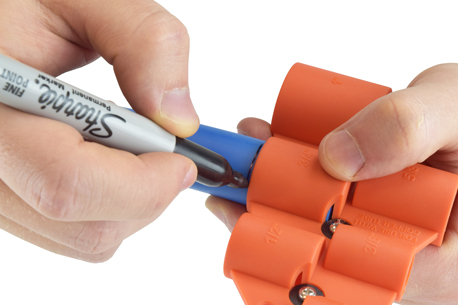

 Tools & materials needed:

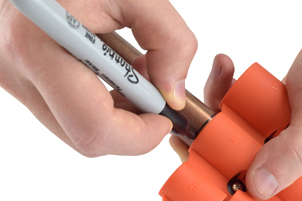


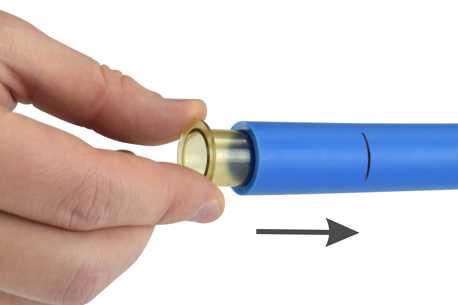
| Pipe Size (CTS/Nominal) | Pipe Size (OD) | Insertion Depth |
|---|---|---|
| 1/4" | 3/8" | 13/16" |
| 3/8" | 1/2" | 15/16" |
| 1/2" | 5/8" | 15/16" |
| 3/4" | 7/8" | 1-1/8" |
| 1" | 1-1/8" | 1-5/16" |