This tutorial is designed to help you to understand the general techniques used to make a PEX crimp connection.
To make a PEX connection using a crimp method, you will need the following:
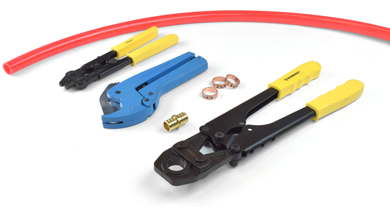
- PEX tubing;
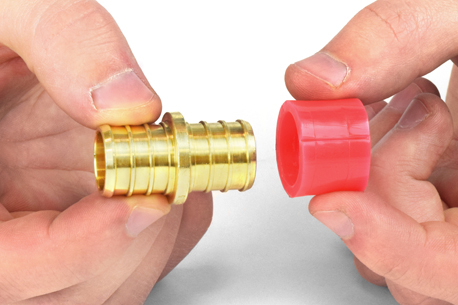
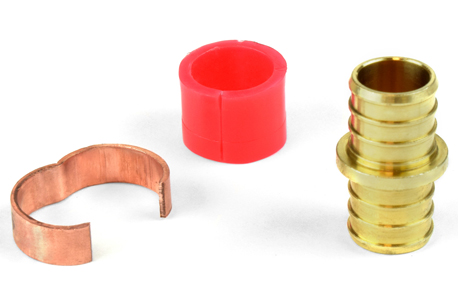
- Brass or poly PEX crimp fitting(s);
- PEX crimp ring(s);
- PEX tools:
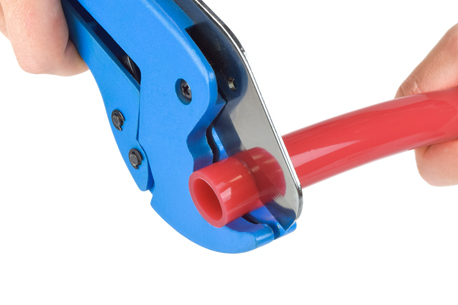
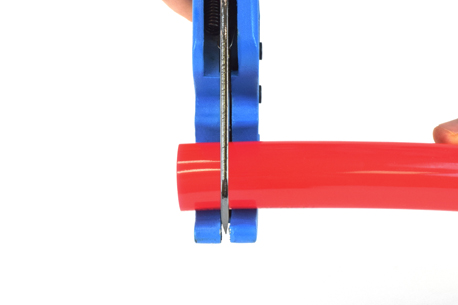
Step 1:
Cut the PEX tubing. To ensure you have a smooth and even cut, position the cutter at 90 degrees to the tubing.
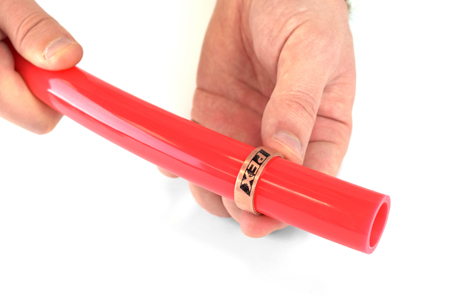
Step 2:
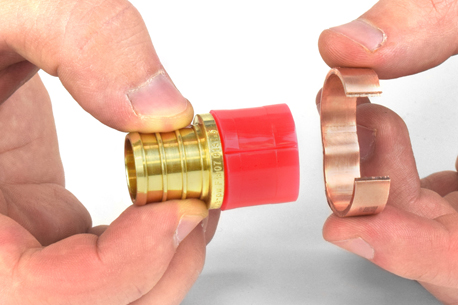
Slide the PEX crimp ring and over the tubing approximately 2" past the end.
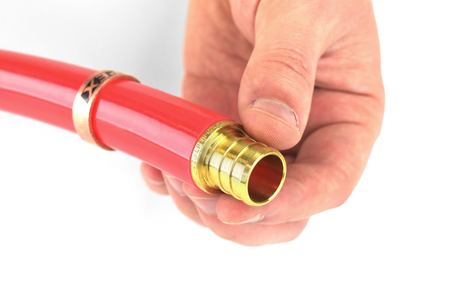
Step 3:
Fully insert the PEX fitting into the PEX tubing so that the fitting’s shoulder touches the tubing.
Step 4:
Position the PEX crimp ring 1/4”-1/8” from the end of the tubing. This way the crimp ring will be right above the PEX fitting’s barbs.

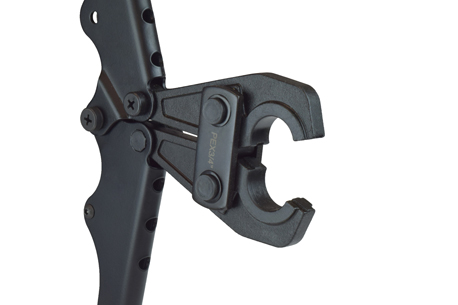
Step 5:
Open the PEX crimp tool’s jaws.
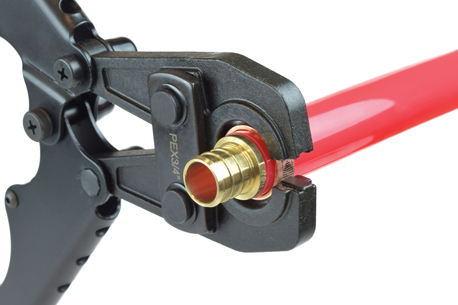
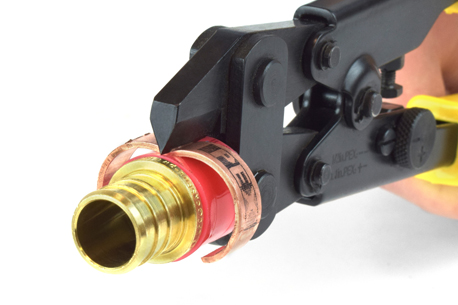
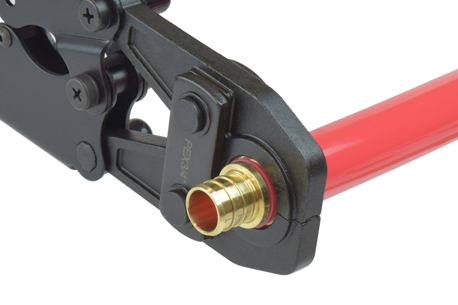
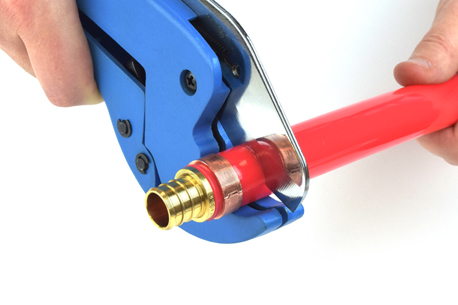
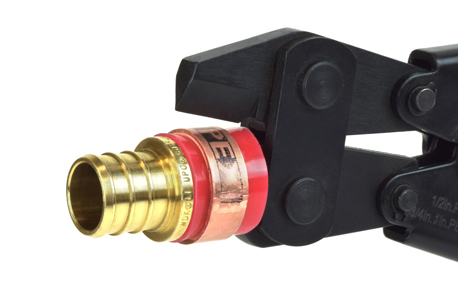
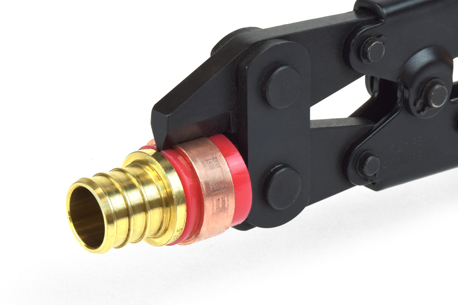
Step 6:
Position the PEX crimp tool over the crimp ring evenly, at 90-degrees to the tubing. Make sure that jaws of the tool are centered over the crimp ring and it stays in place.
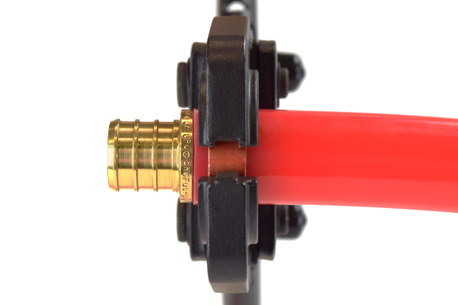
Step 7:
Close the crimp tool’s jaws completely.
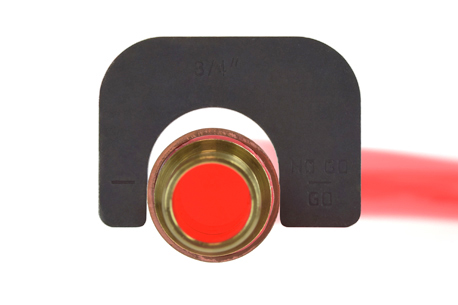
Step 8:
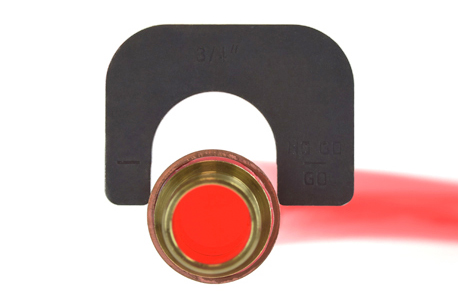
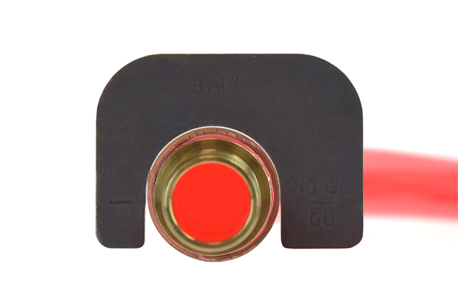
Check the connection with a go-no-go gauge. The image below shows a connection which gauges properly.
In both examples below, connection was done improperly and must be redone after removing the crimp ring and re-calibrating the tool.
Connection is complete

If a connection does not gauge, or it was done improperly, a decrimper tool should be used to remove the crimp ring:
Step 1:
Using PEX cutter, cut off the section of PEX tubing with the fitting. Try to make the cut as close to the end of the fitting as possible without scratching it or damaging the cutter.
Step 2:
Open the jaws of the decrimping tool.
Step 3:
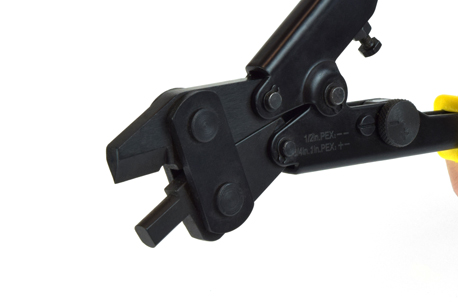
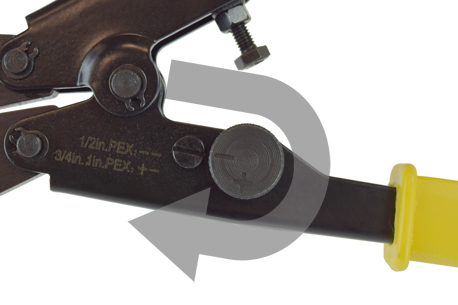
If you’re using an Everhot PXT3101 decrimper, use a quick switch knob to select the PEX tubing size. For the PXT3101 model, the "--" position is for 1/2" PEX, "+-" position if for 3/4" and 1" PEX.
Step 4:
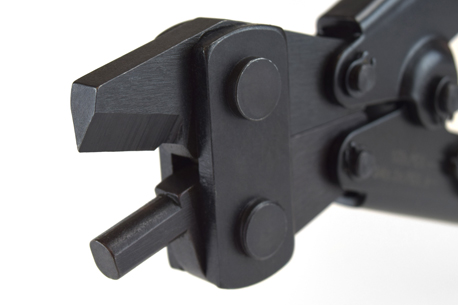
Next, visually inspect the PEX decrimping tool. The tool has two jaws – one is for cutting the ring (the sharp one) and one to support the PEX fitting from the inside (the dull one).
Step 5:
Insert the decrimping tool into the cut-off section as shown.
Step 6:
Close the decrimper’s jaws completely. The ring will split.
Step 7:
Rotate the piece 180 degrees and repeat Step 5. The PEX crimp ring will fully split in half, making it easy to remove it by hand.
Step 8:
The remaining piece of PEX tubing can now be easily removed, leaving an undamaged PEX fitting which can be used again.

The process of installing PEX tubing installation with a crimp method is the same for both Oxygen Barrier PEX tubing and Non-Barrier PEX types.
PEX crimp connection method described in this tutorial is suitable for all types (A,B,C) of PEX tubing, regardless of brand or color. Typically, both crimp fittings and crimp rings are available in sizes 3/8", 1/2", 5/8", 3/4", 1" and 1-1/4".
Crimp connection method is particularly popular among DIY'ers because of the ability to check a completed connection with a go-no-go gauge. No other connection method gives you such an option.
For sweat or threaded type PEX fittings, the transition part must always be connected first (also cooled off, if it is a sweat connection).
This article is for informative purposes only. For actual installation instructions, refer to manufacturer's manual.